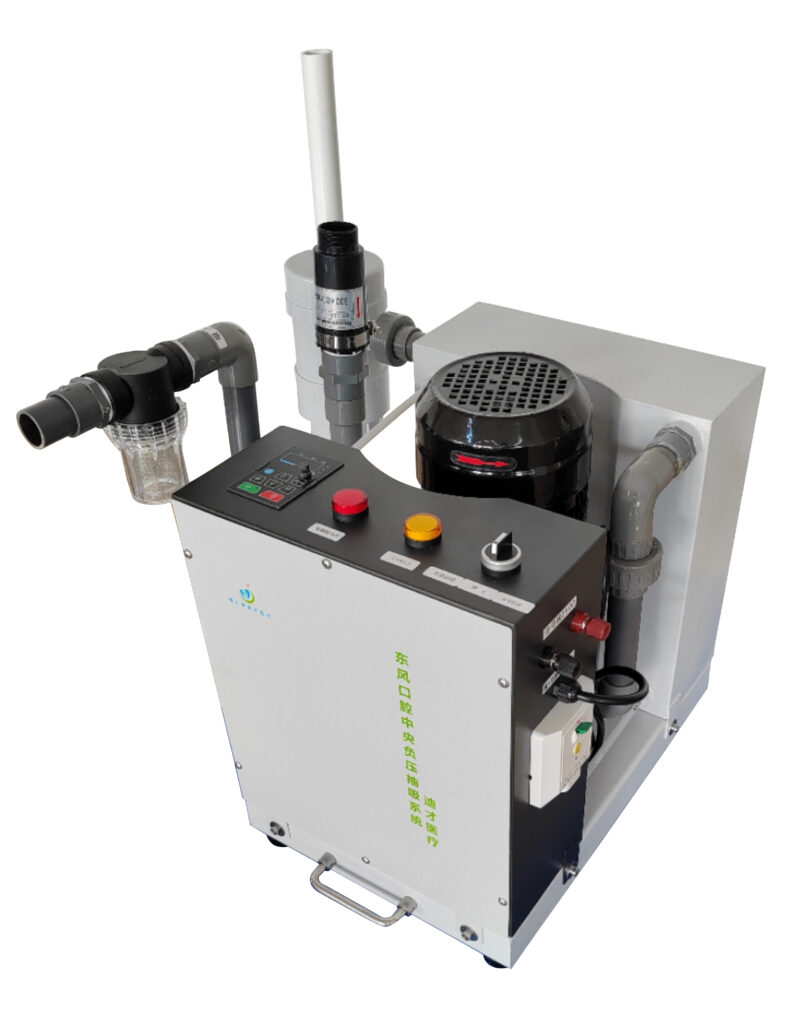
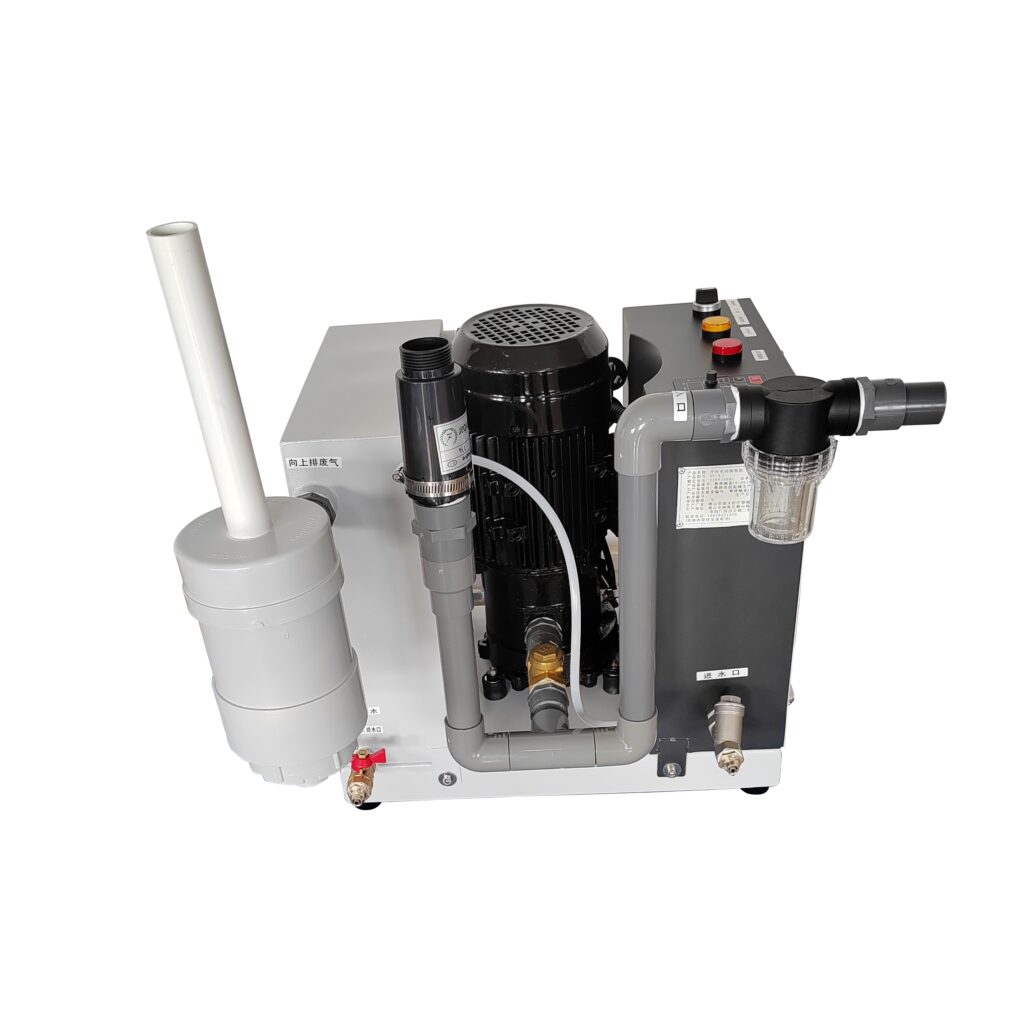
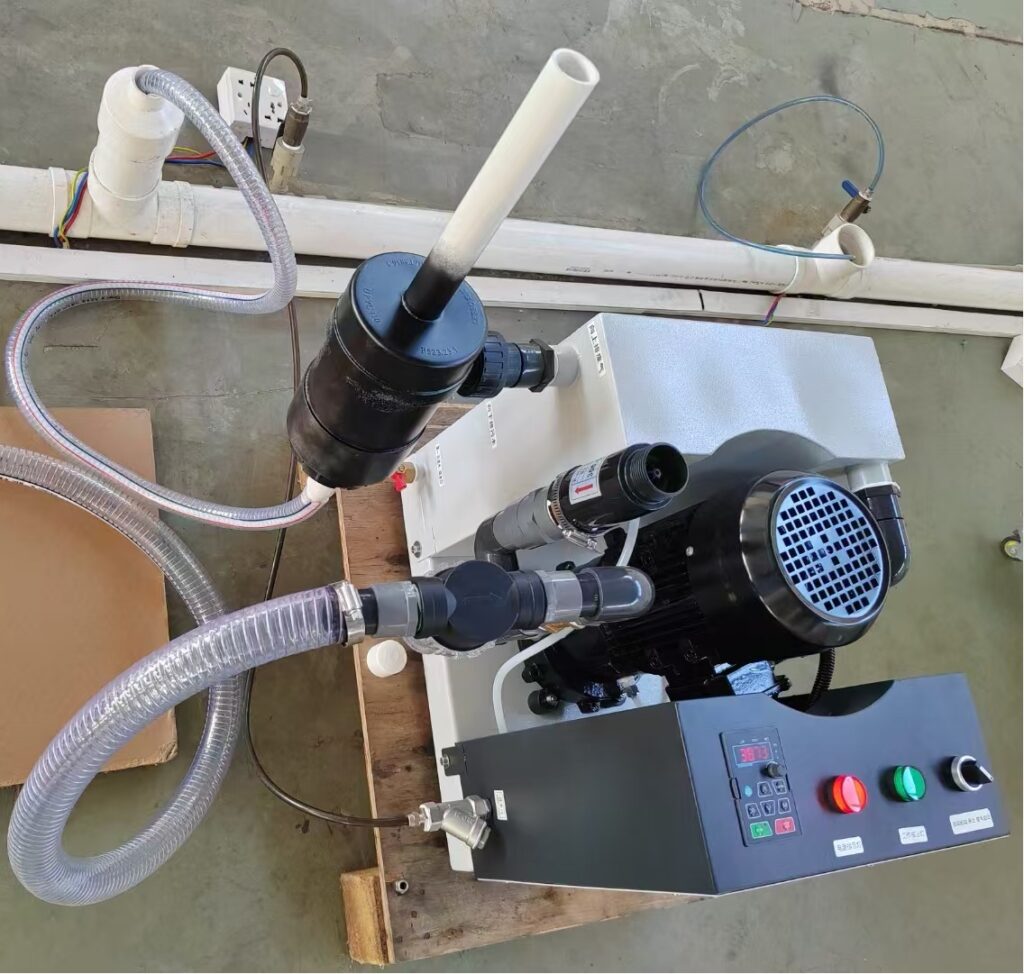
1. Unpacking and Inspection
- Open the Package: Carefully open the package to reveal the vacuum pump and its accessories.
- Check Accessories: Ensure all necessary components are present. These include:
- Inlet pipeline device
- Inlet pipe
- Outlet pipe
- Pure-water pipe
- Hose Clamps
- Inlet transitional filter
- Transitional short hard-pipe
- Water vapor separation filter
- Y-shaped inlet water filter
2. Preparing the Glue
- Purchase Glue: Obtain the appropriate glue from a local supermarket. This glue will be used to bond each pipe connection securely.
3. Assembling the Inlet Interface
- Install Inlet Interface:
- Connect the inlet interface to the inlet filter component.
- Adjust the pipe angle direction to suit your dental office layout.
- Apply glue to each pipe connection to ensure a secure fit.
4. Connecting the Inlet Pipe
- Docking to Dental Chair:
- Attach the transitional short hard-pipe to the inlet filter component.
- Connect this assembly to the outlet interface pipe from the dental chair.
5. Assembling the Outlet Interface From Dental Chair Connection
- Install Outlet Interface:
- Attach the Hose Clamp component to the outlet interface pipe.
- Securely dock the vacuum pump to the dental chair outlet interface.
6. Connecting the Signal Wire
- Install Signal Wire:
- Connect the dental chair signal wire to the vacuum pump docking interface.
- Note that polarity (positive/negative) does not need to be distinguished.
7. Installing the Water Vapor Separation Filter
- Install Filter:
- Mount the water vapor separation filter onto the left outlet water tank.
- Attach the outlet pipe with the Hose Clamp and connect it to the sewage discharge pipeline.
8. Installing the Water Pipe
- Initial Water Fill:
- For the first use, connect the water pipe to the left water tank.
- Rotate the water inlet switch to a vertical angle.
- Fill the tank with water for approximately two minutes.
- Switch the water inlet interface to a horizontal position in the left water tank.
- Connect the water pipe to the right water tank. This setup ensures the wet water recycling design of the vacuum pump.
9. Setting the Operation Mode
- Rotate Operation Button:
- Adjust the operation button options:
- Auto On (Synchronization): Left position
- Off: Middle position
- On: Right position
- Set the appropriate vacuum parameter according to your dental chair’s requirements.
- Adjust the operation button options:
Conclusion
By following these steps, you will successfully install and configure your wet dental vacuum pump, ensuring optimal performance and efficiency in your dental practice.


